Taking a bashid mclean selfie of head no blur can be a real challenge. Poor lighting, unflattering angles, and blurriness can ruin what should be a clear, professional image. But don’t worry, I’ve got some strong opinions on how to fix these issues.
Do you ever wonder why your photos never turn out the way you want? It’s frustrating, right? Well, let’s dive into some practical tips and techniques that can help you get the perfect shot.
I’ve been there, trying to capture a great headshot only to end up with something that looks more like a blurry mess. So, let’s cut to the chase and get straight to the point.
You need to trust the advice here. I’m not just spouting off random tips; I’ve got experience and a solid understanding of what works. We’ll cover everything from setting up the right lighting to finding the best angle for your face.
So, are you ready to take your headshot game to the next level? Let’s do this.
Understanding the Basics of Photography
Photography can be a bit overwhelming at first. But once you get the hang of it, it’s incredibly rewarding.
Key Elements: Exposure, Composition, and Focus
Let’s start with the basics. Exposure, composition, and focus are the building blocks of a great photo. Exposure is all about how much light hits your camera’s sensor.
Composition is how you frame your shot, and and focus? Well, that’s making sure your subject is sharp and clear.
Camera Settings: ISO, Aperture, and Shutter Speed Explained
Now, let’s dive into the nitty-gritty. Your camera has three main settings: ISO, aperture, and shutter speed. ISO controls the sensitivity of your camera’s sensor to light.
A higher ISO means more sensitivity, but it can also introduce noise. Aperture is the size of the lens opening. It affects both the amount of light and the depth of field.
Shutter speed is how long the shutter stays open. It controls motion blur and exposure.
Importance of Lighting: How Natural and Artificial Light Can Affect Your Shot
Lighting is everything in photography. Natural light can create soft, flattering images, while artificial light can add drama and mood. The key is to understand how different types of light affect your photos.
For example, the golden hour (just after sunrise or before sunset) provides a warm, diffused light that’s perfect for portraits.
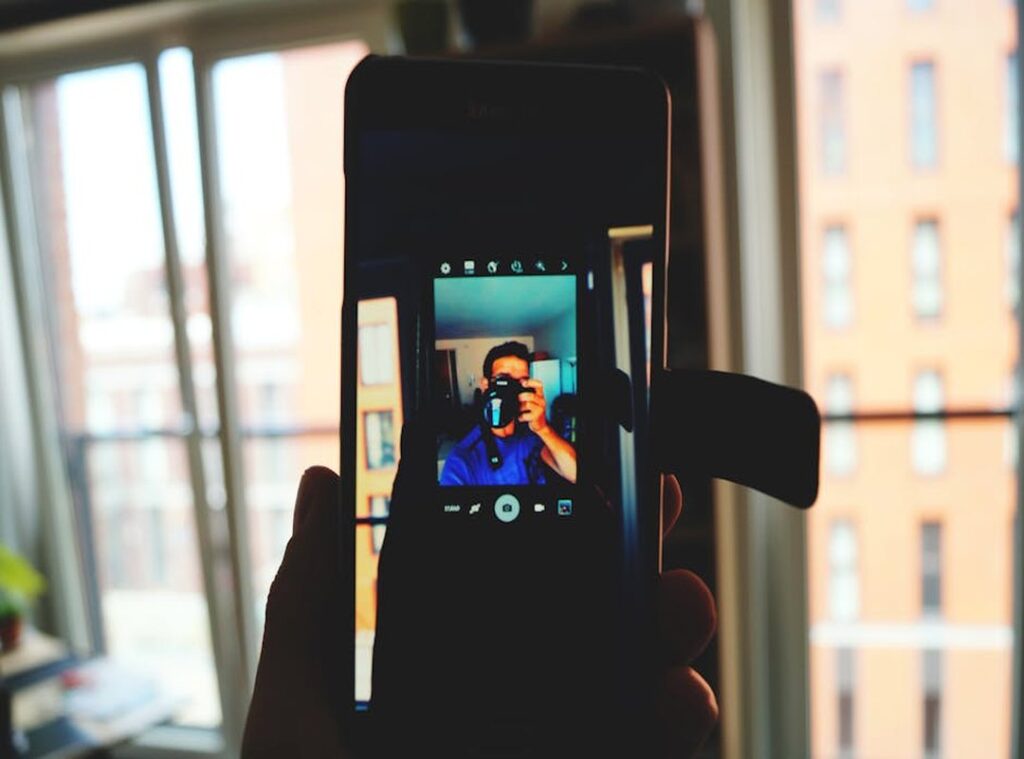
bashid mclean selfie of head no blur
Pro tip: Always check your lighting conditions and adjust your camera settings accordingly. This will help you capture the best possible image, no matter the environment.
Choosing the Right Equipment
Camera Selection: DSLR vs, and mirrorless vs. Smartphone cameras.
When it comes to picking a camera, you’ve got options. DSLRs are great for their versatility and lens selection. Mirrorless cameras are lighter and have fantastic image quality.
And let’s not forget smartphones. They’re getting better every year and are super convenient.
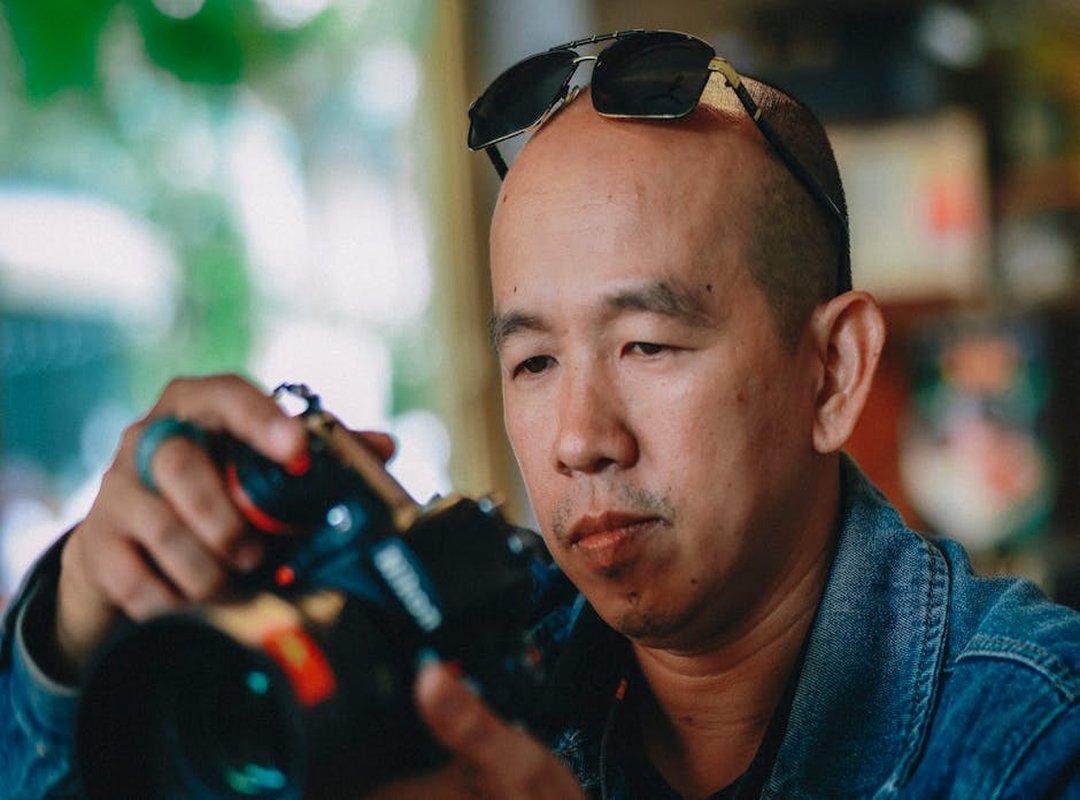
Lenses: The importance of using a prime lens for headshots.
If you’re into headshots, a PRIME LENS is your best friend. Why? Because they offer a fixed focal length, which means sharper images and better low-light performance.
Plus, they usually have wider apertures, giving you that nice, creamy background blur.
Tripods and Stabilizers: Why stability is crucial for a clear, sharp image.
Stability is key. A tripod or stabilizer keeps your shots steady. No one likes blurry photos.
(Trust me, I’ve seen my fair share.) A good tripod can make all the difference, especially in low light or when you need a long exposure.
bashid mclean selfie of head no blur
So, whether you’re shooting with a DSLR, mirrorless, or even a smartphone, make sure you’ve got the right tools. It’s all about getting those clear, sharp images.
Setting Up the Perfect Environment
Choosing a simple, non-distracting background is key. It helps keep the focus on you and not what’s behind you.
Lighting Setup
Positioning and types of lights matter. Natural light is great, but if that’s not an option, ring lights and softboxes can do the trick. They help to eliminate harsh shadows and give a more even, flattering look.
Positioning the Subject
For the best angle, position yourself slightly off-center. This creates a more dynamic and engaging image. (Pro tip: Tilt your head slightly for a more natural and relaxed look.)
Bashid McLean selfie of head no blur
Remember, the goal is to make sure you look your best and most natural. A well-set environment can boost your confidence and make your photos stand out.
Mastering Camera Settings for a Clear Headshot
ISO: Balancing sensitivity and noise. You want to keep the ISO as low as possible to avoid grain, but not so low that your image is too dark.
Aperture: Achieving the right depth of field. A wide aperture (low f-number) can blur the background, making you the focus. But be careful; too wide can make it hard to get everything in focus.
Shutter Speed: Avoiding motion blur and capturing sharp details. A fast shutter speed is key to a clear headshot. Too slow, and any movement will cause blur.
Pro Tip: Use a tripod or a stable surface to keep the camera steady. This is especially important if you’re using a slower shutter speed.
Now, let’s compare two common settings:
-
ISO 100 vs. ISO 800: At ISO 100, you get a cleaner, less noisy image. But in low light, you might need to bump it up to ISO 800.
Just be prepared for some grain.
-
f/2.8 vs. f/5.6: An f/2.8 aperture gives you a beautifully blurred background, perfect for isolating the subject. On the other hand, f/5.6 keeps more of the face in focus, which can be useful if you have a detailed background.
-
1/200s vs. 1/50s: A shutter speed of 1/200s is great for freezing motion, ensuring no blur. If you’re in a well-lit area, 1/50s can work, but it’s riskier for handheld shots.
Remember, the goal is to find the balance that works best for your specific situation. Experiment with different settings to see what gives you the best results.
Bashid McLean selfie of head no blur is a great example of how these settings can come together to create a crisp, clear image.
By the way, if you’re into tech and coding, check out a beginners guide to building apis with fastapi. It’s a great resource for those who want to dive deeper into tech innovation.
Focusing Techniques for Sharpness
Autofocus vs, and manual Focus: When to use each. I prefer autofocus for most situations.
It’s quick and reliable, especially in fast-moving scenarios. But sometimes, manual focus is a must. Think low light or when you need pinpoint precision.
Focus Points: Selecting the right focus point for the subject’s eyes. This can make or break a photo. Eyes are the window to the soul, after all.
If they’re not in focus, the whole shot feels off.
Continuous Shooting: Capturing multiple shots to ensure clarity. Why take one shot when you can take several? This way, you increase your chances of getting that perfect, sharp image.
Bashid McLean selfie of head no blur is a great example of how this works.
In summary, mastering these techniques will help you get those crisp, clear photos you’re after.
Post-Processing for a Professional Finish
Editing Software: Let’s start with the basics. Adobe Lightroom and Photoshop are the go-to tools for most photographers. They offer a ton of features, from basic adjustments to advanced retouching.
Basic Adjustments: Cropping, exposure, and color correction are your first steps. These tweaks can make a huge difference. For example, adjusting the exposure can bring out details in shadows and highlights.
Advanced Techniques: Once you’ve got the basics down, move on to retouching, sharpening, and removing distractions. These techniques can really elevate your photos.
After a few weeks of practice, you’ll notice how much better your photos look. It’s like giving them a professional touch-up.
Removing distractions is key. Sometimes, a small object in the background can ruin an otherwise great shot. Take it out.
Your photo will thank you.
Pro tip: Use the bashid mclean selfie of head no blur as a reference. It’s a great example of a clean, well-edited image.
Post-processing takes time to master. But with patience and practice, you’ll get there. Trust me, it’s worth the effort.
Common Mistakes and How to Avoid Them
Poor Composition: Avoiding common framing errors. It’s easy to get caught up in the moment and forget about the basics. But trust me, a well-composed shot makes all the difference.
(Think of it like setting the stage for a good story.)
Incorrect Lighting: Recognizing and fixing lighting issues. Bad lighting can ruin an otherwise great photo. You need to learn how to use natural light or adjust your camera settings.
It’s not rocket science, but it does take practice.
Blurry Images: Tips for maintaining sharpness and clarity. There’s nothing worse than a blurry photo, and use a tripod if you can.
Or, if you’re shooting handheld, make sure your shutter speed is fast enough. The bashid mclean selfie of head no blur is a perfect example of how a steady hand and good focus can make a huge impact.
The key is to stay aware and be willing to experiment. Don’t be afraid to try different angles and settings. With a bit of patience, you’ll start seeing the results you want.
Capturing the Perfect Bashid McLean Headshot
To capture a bashid mclean selfie of head no blur, start by ensuring you have the right setup. Good lighting is crucial to avoid shadows and overexposure.
Position your subject in front of a simple, uncluttered background. This helps keep the focus on the face.
Adjust your camera settings for a clear, sharp image. A higher f-stop number can increase depth of field, making the entire face in focus.
Use a tripod or stable surface to prevent camera shake. This is essential for a blur-free shot.
After taking the photo, use post-processing tools to enhance the image. Adjust brightness, contrast, and color balance to make the headshot stand out.
Practice and experiment with different setups and settings. Each attempt will bring you closer to the perfect headshot.
 Sidneyasen Russell is a dedicated tech writer and optimization specialist at LCF Mod Geeks, bringing precision and depth to every piece of content. With a focus on performance, coding frameworks, and practical implementation, he delivers actionable insights that empower developers to build smarter and faster. His analytical mindset and passion for efficiency make his contributions essential for readers looking to refine their skills and elevate their digital projects.